Welcome to the premium adult figure showcase of エル Illustrated by saitom 1/5 Complete Figure!
This page highlights the detailed photographs of this high-quality figure.
Take a look at the gorgeous details and styling below.

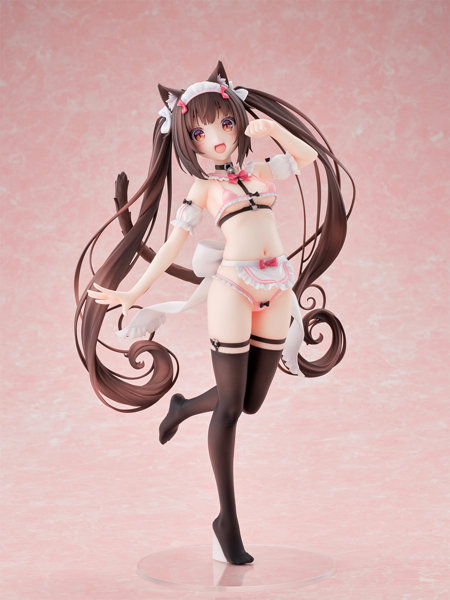
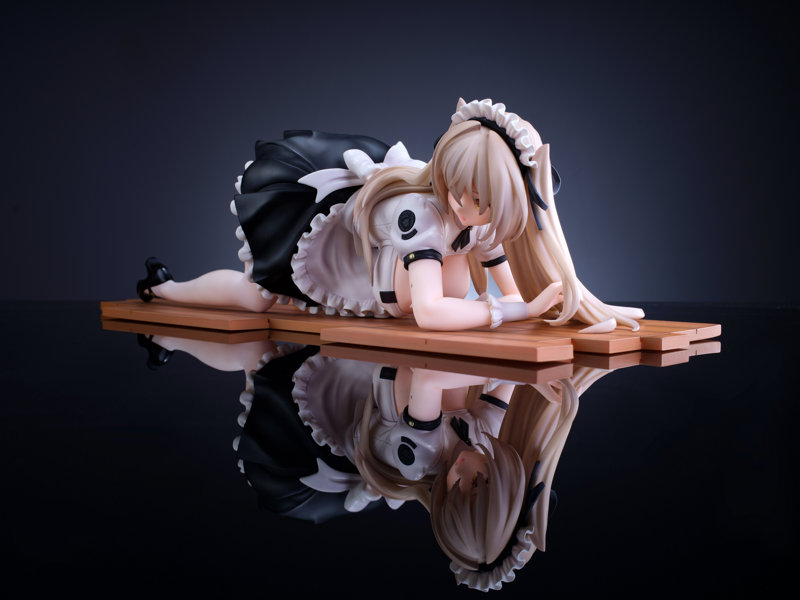
エル Illustrated by saitom 1/5 Complete Figure Photo 1

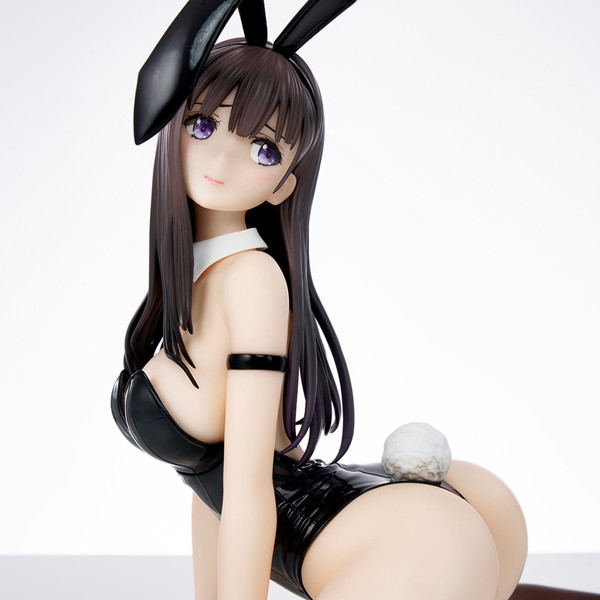
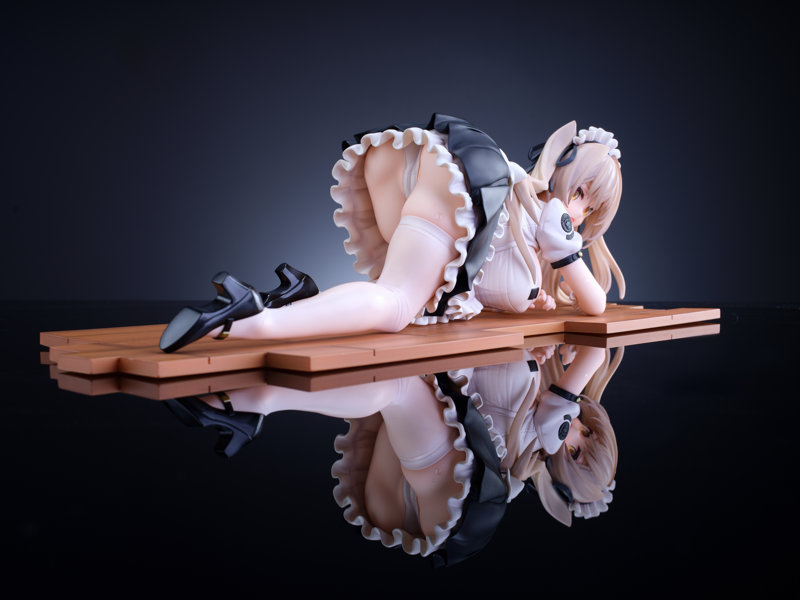
エル Illustrated by saitom 1/5 Complete Figure Photo 2

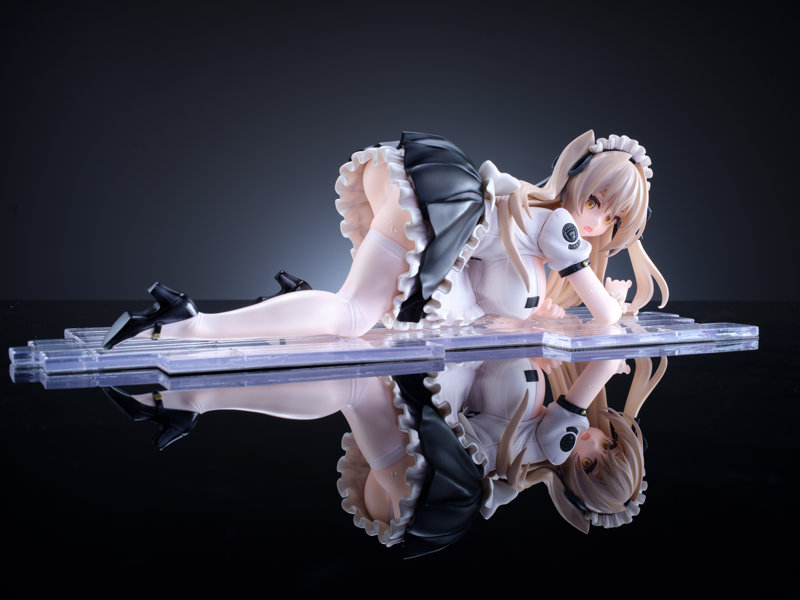
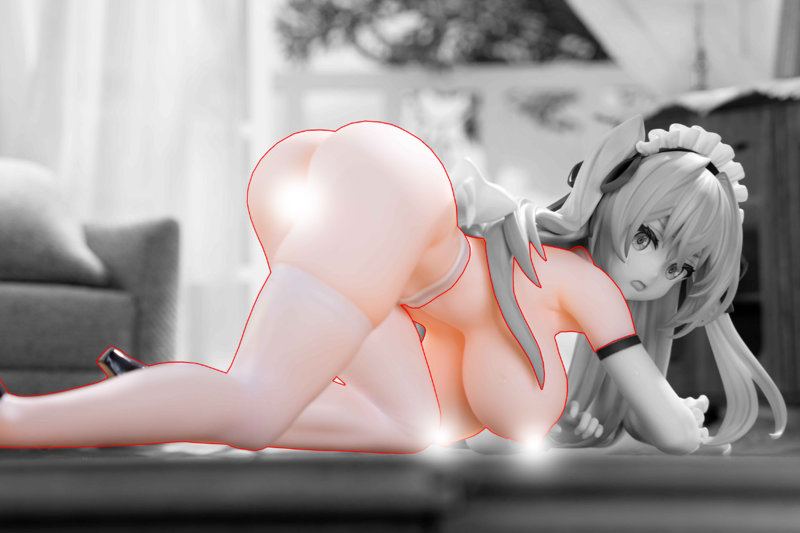
エル Illustrated by saitom 1/5 Complete Figure Photo 3

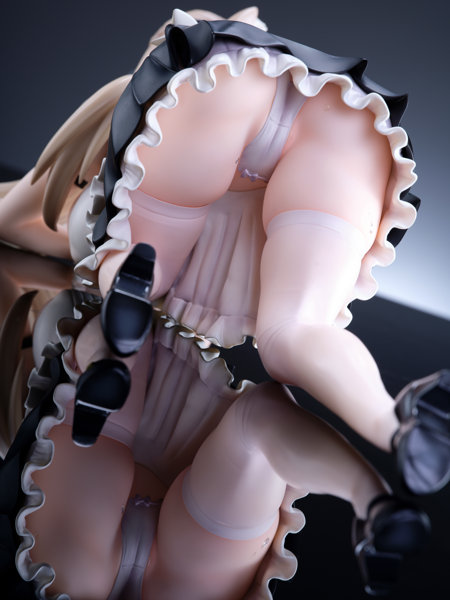
エル Illustrated by saitom 1/5 Complete Figure Photo 4

エル Illustrated by saitom 1/5 Complete Figure Photo 5

エル Illustrated by saitom 1/5 Complete Figure Photo 6

エル Illustrated by saitom 1/5 Complete Figure Photo 7

エル Illustrated by saitom 1/5 Complete Figure Photo 8

エル Illustrated by saitom 1/5 Complete Figure Photo 9

エル Illustrated by saitom 1/5 Complete Figure Photo 10

エル Illustrated by saitom 1/5 Complete Figure Photo 11

エル Illustrated by saitom 1/5 Complete Figure Photo 12

エル Illustrated by saitom 1/5 Complete Figure Photo 13

エル Illustrated by saitom 1/5 Complete Figure Photo 14

エル Illustrated by saitom 1/5 Complete Figure Photo 15

エル Illustrated by saitom 1/5 Complete Figure Photo 16

エル Illustrated by saitom 1/5 Complete Figure Photo 17

エル Illustrated by saitom 1/5 Complete Figure Photo 18
エル Illustrated by saitom 1/5 Complete Figure Photo 19

エル Illustrated by saitom 1/5 Complete Figure Photo 20
エル Illustrated by saitom 1/5 Complete Figure Photo 21

エル Illustrated by saitom 1/5 Complete Figure Photo 22
エル Illustrated by saitom 1/5 Complete Figure Photo 23

エル Illustrated by saitom 1/5 Complete Figure Photo 24
エル Illustrated by saitom 1/5 Complete Figure Photo 25

エル Illustrated by saitom 1/5 Complete Figure Photo 26

エル Illustrated by saitom 1/5 Complete Figure Photo 27
エル Illustrated by saitom 1/5 Complete Figure Photo 28

エル Illustrated by saitom 1/5 Complete Figure Photo 29

エル Illustrated by saitom 1/5 Complete Figure Photo 30

エル Illustrated by saitom 1/5 Complete Figure Photo 31
📋 Details & Specs
- Manufacturer: OMAHA
- Format: R-18 Anime Figure Showcase & Photo Gallery